The best thing about wet yucky holidays is I get to make stuff. This week's project: a straw hat for a Regency picnic. This turned out lovely, and was so much easier than I thought it would be!
Step 1: Find a straw hat with a wide flat brim. Something not so crispy will work better when you try to push a needle through it. Crispy breaks up & you might not be able to save it.
Step 2: Cut off the brim into a more period shape. The back of the bonnet rests against your neck so you need to cut away enough to allow that. Cut back the sides to a shape you like. I looked in the mirror & took off a little at a time until I liked where the ties would land.
Step 3: Get a piece of fabric cut on the bias that is long enough to go all the way around the brim and wide enough to be as deep as the brim plus ~5 inches. With right sides together stitch the bias around the top side of the hat. Turn the fabric to the inside & tuck it in.
Step 4: Arrange the fabric so that it looks nice. Stitch down the tucks about 1" inside the hat. If the hat came with a band inside stitch to that. If it didn't you may need to put a piece of fabric tape inside to stitch to. Trim off excess fabric leaving enough to finish the edge, either by rolling under & stitching or by binding or by lining the hat. Mine's for summer so I didn't want a full lining.
Step 5: Make a long tie out of fabric or get a long wide ribbon. Attach to the hat so that the ends cross in the center back and at the outer edges. Tack to the binding.
Step 6: Add decoration at will.
Step 7: Wear your beautiful new hat.
Showing posts with label Regency. Show all posts
Friday, May 24, 2013
Sunday, April 21, 2013
Regency Stays
With the pelisse done I need to cut a dress but I have to have a properly fitting Regency corset to measure over first. Regency unders are unusual in that there are a variety of support options over a short time range that you mostly don't see anywhere else until "modern" dress. As long as the breasts are properly supported to get the "on a platter" shape, the length of the corset body isn't so important. In theory this should be true...in practice that's not true unless you're an A cup, as I quickly found out.
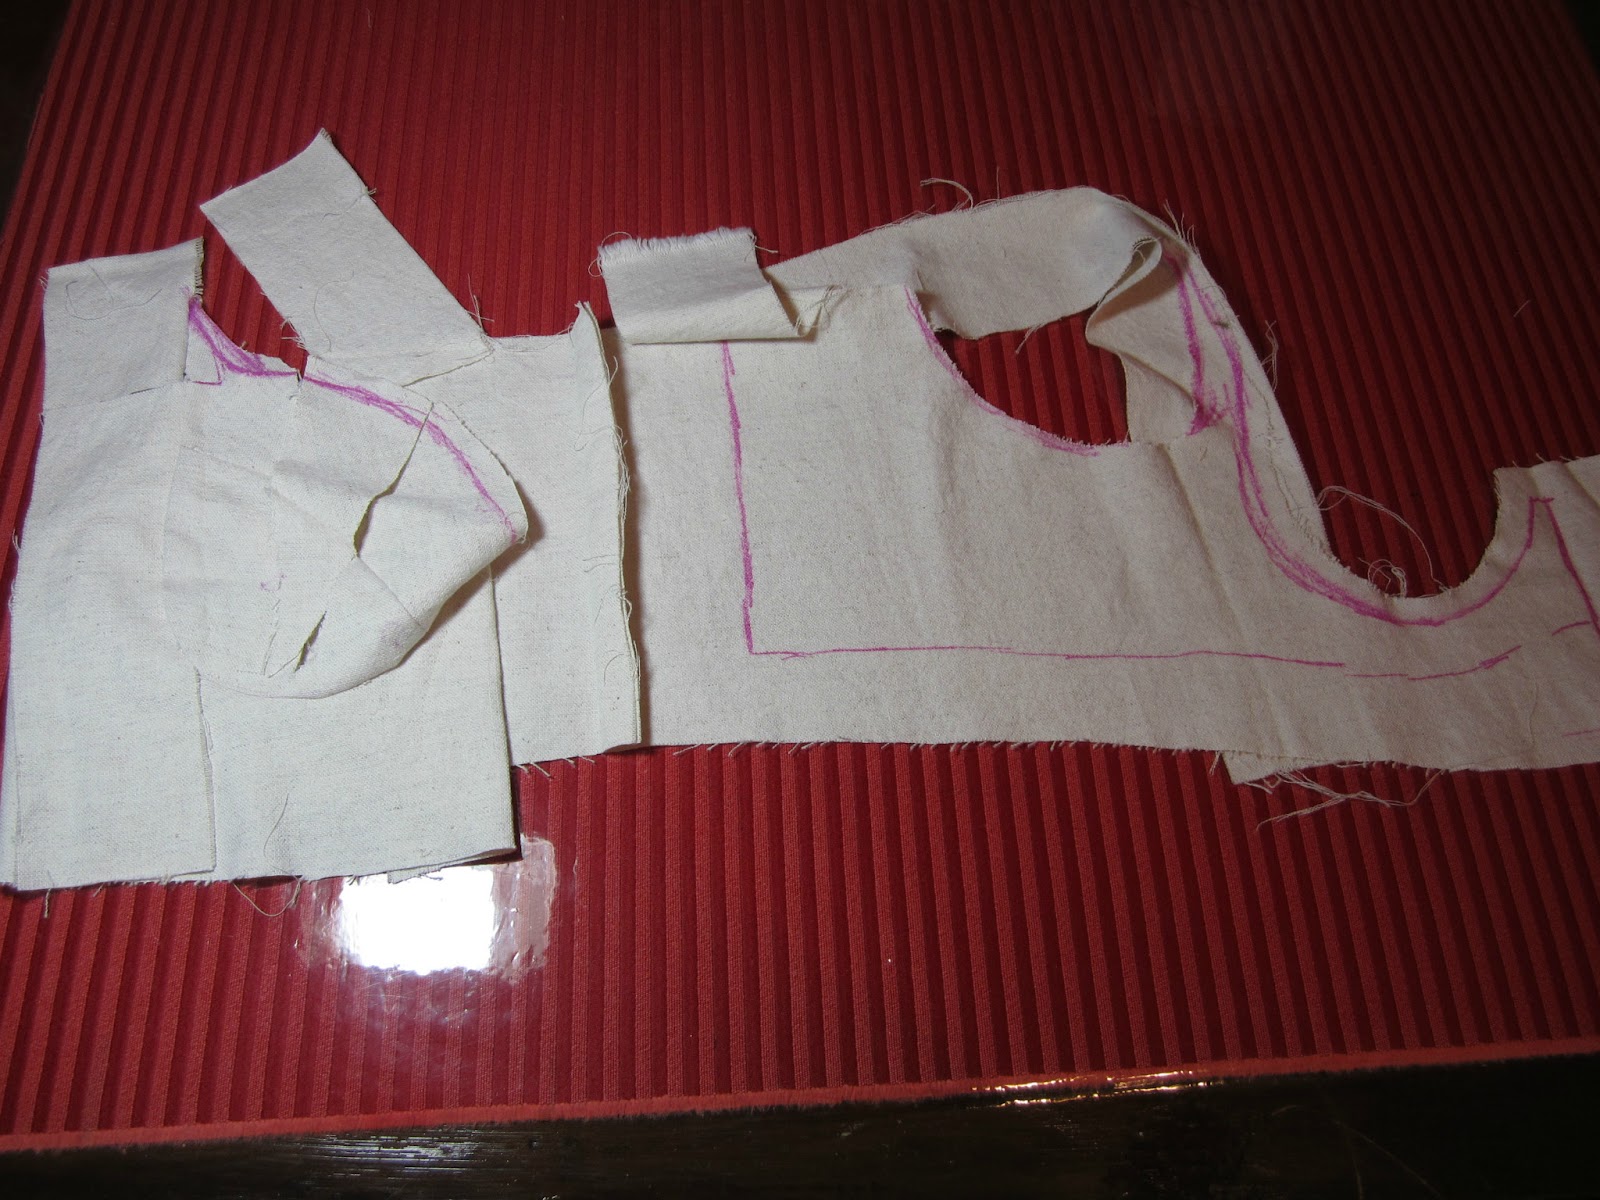
After looking at a lot of the historical examples, I'd decided to start with a modern "wonderbra" that I know fits and gives the right silhouette. My inspiration is in the Metropolitan Museum of Art (love their collections!). It's essentially a modern bra using small spring coil for boning. The cups are sheer silk gathered at the top. My first mockup quickly convinced me that this wasn't giving me a period look in the bigger cup sizes so I modified the pattern to a longer line & side boned it to make transitional stays. The downside of moving away from the body + cups model to the gusseted one is that the stiffer boned corset sides blur the line between the breasts & body (i.e. the "waistline" gets bigger). I flew through this in a few hours and didn't stop to take a lot of photos, but these will give you an idea of the transitions.
Yay for the done Pelisse!
I held off finishing so I'd have handwork to do at some sew gathers but it's wearable & off the table at last.
I'm having serious second thoughts about the lack of decoration. I guess whatever bonnet I end up making will have to be over the top!
Lessons learned: there needs to be some kind of stable separate flap for the closures on the inside of the front. This is not the first garment I've made where the lining pulls because it's where all the hooks are and it makes the top fabric look sloppy. Also, I asked "the experts around me" about what size hooks they'd use. Every single one said use the bigger hooks. I don't like how clunky they make the garment. It's a lot of hardware and if the coat isn't hooked all the way up it looks bad IMHO. I don't intend to wear it all closed up so the hooks will always be right there & obvious. I guess I can cut them all off at some point & replace with small hooks. The belt is tacked across the back pleats, at the side, and the front panel except enough in the front to use the hooks.
Sunday, March 24, 2013
Cartridge Pleats
They're an art that's been mostly lost to anyone but reenactors and museum staff but they are the only way I know to force a sinful amount of fabric into a very small space. Take this pelisse--all of the volume is in the center back. I really got 58" of fabric to pleat neatly into a 6" strip. Here's how:
First run parallel threads through the fabric to gather it. The stitches need to be lined up & evenly spaced. It's easy on this fabric.Then stitch the pleats to a stabilizer strip (or waistband). Take a stitch at the fold of each pleat.
Here I set the skirt to the bodice. The pleated section had to be sewn by hand
| Pelisse back showing belt over waist seam. |
Saturday, March 16, 2013
Finally back to the Regency pelisse. The most important lesson learned was the shape of the set-in period sleeve. I sewed up the bodice & one sleeve and discovered the sleeve pattern wanted to roll at the top giving an effect similar to the Elizabethan shoulder rolls. I freehanded the original sleeve and because it was going to be full on top I didn't worry too much about the way period armseyes go deep into the back. Combine this with the dropped shoulder and something odd happens. I draped a new sleeve and took out all the cap fullness. The new tailored sleeve squashes sideways at the top. My underarm seam here is deliberately set to the back an inch to match the shifted side seam on the bodice. This gives a nice tailored sleeve but it fits small over the upper arm, which means wearing a big puffy sleeve garment underneath will be a problem, and it won't work on someone with big upper arms. I haven't tried splitting longways and spreading because I like the trimmer look.
I'm really happy with the lines in the back. The next challenge is to figure out how much I can cartridge pleat into the center back skirt panel. I like really full coats but getting 60" into that center panel may be a challenge.
This is the before and after in the actual fabric
| Before, gathered sleeve cap |
![]() |
| After, tailored set-in sleeve |
I also draped the collar. All of the extant collars I looked at were very high in back and usually displayed upright. This is important because modern collars are bias to get them to lay softly. We want to force the fabric to stand up so the center back grain needs to be upright and the side grain does as well, as much as possible.
![]() |
| Start at the center back |
![]() |
| Pin the fabric to the neckline to get the shape you want |
| What the foldover looks like |
| Trim & mark the muslin |
I'm really happy with the lines in the back. The next challenge is to figure out how much I can cartridge pleat into the center back skirt panel. I like really full coats but getting 60" into that center panel may be a challenge.
Saturday, February 9, 2013
Pattern finished, time to cut
I've been looking at Pinterest posts of extant garb for days. This one has the lines I like best.
http://www.museumoflondon.org.uk/Collections-Research/Collections-online/object.aspx?objectID=object-82460&start=0&rows=1
I won't be able to match that hourglass shape because I'm very short waisted. I made up the bodice from a cotton tablecloth & the first fit certainly has an issue-about a 2" gap at the center front waist. That's why we mockup. Shoulders look good. The sides need to have the grain shifted.
http://www.museumoflondon.org.uk/Collections-Research/Collections-online/object.aspx?objectID=object-82460&start=0&rows=1
![]() |
| Photo from Museum of London website |
| First mockup |
Thursday, February 7, 2013
Regency Coat Pattern
The fabric is in the dryer & half a Pride & Prejudice later I have the bodice pattern cut. I'm not sure what the fiber content is now, wet it doesn't smell like any natural fiber, but it has a lovely hand. There's a little stretch to it so I suspect a good grade of acrylic with a pinch of spandex. Didn't expect that. I have to be more diligent about mapping steps, but really I don't think about it. Mostly I freehand the pattern and tweak the fit on a body. This time I started from a gauze dress I did for a Regency party some years ago, and a commercial jacket pattern that I know fits.
Here's the back of the dress.
And here's the overlay of the dress pattern on the commercial jacket pattern on painter's paper.
Which turns into the new back pattern
Attach the missing top shoulder to the front--see the new paper pattern under the commercial.
And fill in the gap under the arm. I've cut a side seam so I can have a seam for fitting. On the dress I made it one piece.
I'll drape the sleeve & collar once I have a sewn up body.
Tuesday, February 5, 2013
Regency Time
| From the Kyoto Museum collection, a dress that looks like a coat style I love, and a military inspired redingote |
3 AM Inspiration no doubt brought on by the ORS posting an event to sail on a tall ship in costume. Here goes the next project! In keeping with my resolution to not buy new fabric this year (which will no doubt go out the window Saturday at my friend's studio cleaning sale), I dug out bins and boxes to see what could be done. The discoveries include 2.5 yards of brown shot silk, a bolt of black/brown wool tweed, a spool of black braid, 4 yards of white windowpane cotton, a bolt of handkerchief linen and some straw hats. I haven't done Regency for a while so I'll need to do the underpinnings as well. I bought the wool to do "something steampunk" so I think an interesting redingote may fill a double bill. The windowpane is obvious though white isn't a color I choose to wear. The silk has possibilities for a day dress if there is enough. I can stretch it out with something black perhaps. I need to get this post loaded and get to my "real" job now, but I suspect my brain will be designing all day. I'm sure my boss will wonder why I'm wiped out in the early afternoon. 3 AM. Gaaah!
Subscribe to:
Posts (Atom)