After looking at a lot of the historical examples, I'd decided to start with a modern "wonderbra" that I know fits and gives the right silhouette. My inspiration is in the Metropolitan Museum of Art (love their collections!). It's essentially a modern bra using small spring coil for boning. The cups are sheer silk gathered at the top. My first mockup quickly convinced me that this wasn't giving me a period look in the bigger cup sizes so I modified the pattern to a longer line & side boned it to make transitional stays. The downside of moving away from the body + cups model to the gusseted one is that the stiffer boned corset sides blur the line between the breasts & body (i.e. the "waistline" gets bigger). I flew through this in a few hours and didn't stop to take a lot of photos, but these will give you an idea of the transitions.
 |
| Bra chop-chop with the Met Museum inspiration photos I took apart the bra & drew around it. The back shape was freehanded based on the photo. 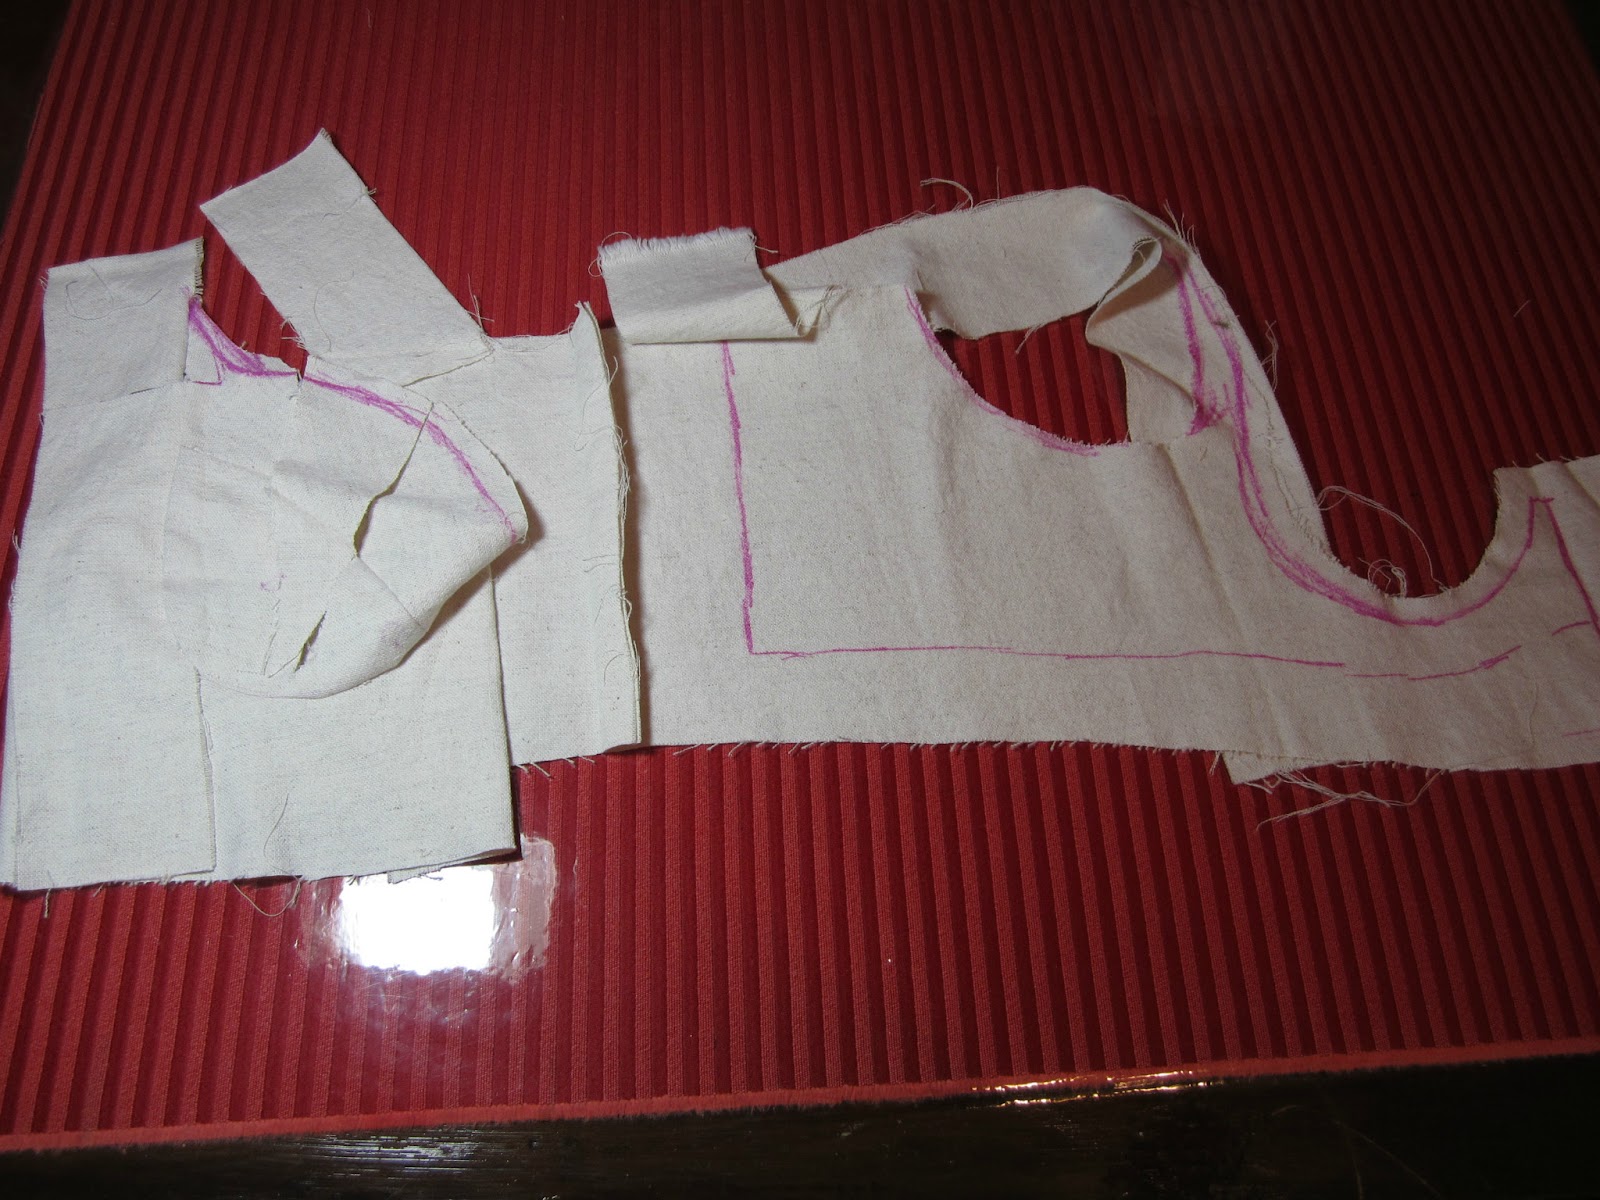
The closure is at center front. The cup is slashed to give me the gusset. I took out everything in the cup that didn't lay flat so I could cut one straight line to the undercup seam when I cut in the real fabric. That's the triangle piece. I cut the entire garment in one piece and an identical lining. Seamed the top & bottom inside out & turned it. Figured out where the side bones were going & stitched lines to make self casings. Inserted the bones & finished the armholes. cut a 2" wide strip of fabric to make a bound edge on the fronts and stitched it down like a double casing, finishing the tops & bottoms by hand. Then I punched holes. Actual work time was about 5 hours start to finish.
The down side of this design: it can't be worn with a lower back neckline because all the support is coming from the center back to let me put the straps all the way on the outside edges of the cups in front. The next one I make will have to be a full corset so I can scoop out the back for evening wear.
 |
No comments:
Post a Comment