The hairnet saga: I finally gave up on the beaded net and kept patterning to a net fabric to get the shape. I'm still not to a point where the pattern shape is usable for the net grid. I got up close & personal with a number of lovely examples at the event, and was pleased to discover other pros had the same problem getting the shape right. The best ones sewed gold ribbon onto a fabric back & made the bag out of the fabric, then sewed to a band. It preserves the shape, but isn't a hairnet at that point at all. Watching Ever After last night I saw they captured the shape differently & I'll have to try their method. Based on the feedback I got, padding out a wig head, drawing the grid (1/2 " seems to be consensus) on the head & pinning/stitching there seems to be the best solution. That goes on my back burner list, b/c I want to get it right but with 12th Night over, I need to move on to my next project.
Here's what I did to get by:

Here's the finished sleeve detail. The cord trim is sewn down below where the last button goes & is allowed to fuzz out like a brush.
 |
| Inside of sleeve lined with silk |
 |
| Cuff |

I used brass rings for shoulder attachments. I LOVE little brass rings! If you're doing period clothes you should have a bag of them on hand. In a pinch I've raided my toolbox for washers but the brass ones for Roman shades are the perfect size.
 |
| Armhole rings |
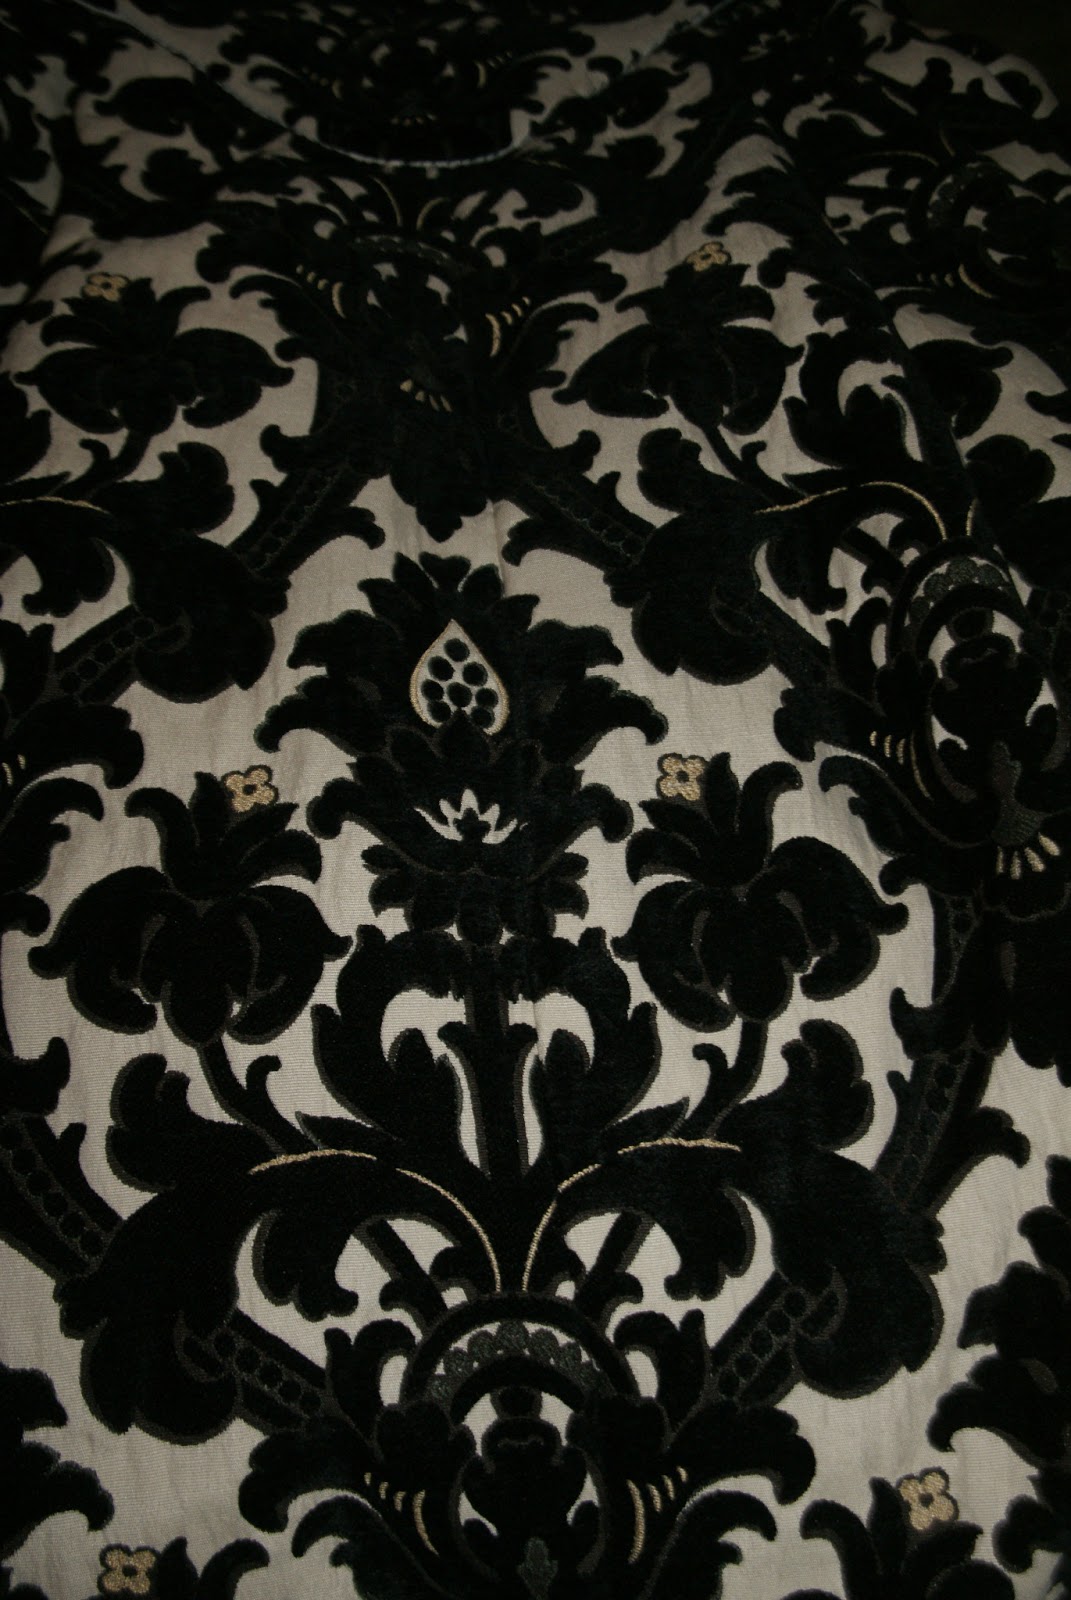
The skirt is pleated onto a finished waistband made of the fabric folded over a strip of super heavy 1" cotton twill tape and then whip-stitched onto the bodice lining. The twill tape is necessary because the weight of the skirt will tear the thread right through the fabric alone. I also tacked down the front of the bodice to the skirt to keep the design matched up. The skirt & bodice can be cut apart for cleaning. I had to waste a lot of fabric (over a yard) to match the pattern so I ended up with less skirt width than I should have, which is why the dress looks a little flat in the photos. The matching was critical, since with only 3 skirt panels I had to run a seam down the front to get a selvage edge at the side back opening. I offset the seam slightly so the eye isn't drawn to the break in symmetry at center front. I didn't want to cut into the fabric to create an extra opening b/c it frays badly & is really bulky to finish the edge. The bodice fit so well I can't wait to use that pattern again. I wore it all day with no slippage, and the shoulders stayed in place.
 |
| Bodice tacks |
 |
| Can you see the seam? |
The partlet needed to be pinned to the corset & kept slipping up around my shoulders despite being tight around the arms so it would stay in place.
 |
| Front Closure |
 |
| See how it gaps on the curve? |

 |
| Close up of grid |

No comments:
Post a Comment